6 Simple Tips to Create DIY Book Covers that Attract Readers.
Table of Contents
Why go for DIY Book Covers ? How can I make my own book cover? Book covers and their designs really make the life of Indie Authors difficult because even after getting okayed by very experienced people , you do not know how is it going to attract the buyer. You also need to make sure that it shows the tone, subject matter and flow of your book. with certain genres it is simple like Science fiction, teen romance, crime thrillers etc. but for non fiction it is different.
You are just finished with the writing and editing part, and your budget may not permit you to get the design done from a professional designer, or even if you get it done the design does not come up to the mark. I came across the same situation and then I took the matter in my hands and design it myself .
First thing I compared the subject and content of my book with similar books and looked at their covers , then went ahead to do it. I cannot work in Adobe Photoshop or other professional software to do it, so I went to PowerPoint – it is surprising how much easy it becomes to design it there. Here are the steps I took to design the cover.
1.Get the right Dimensions :
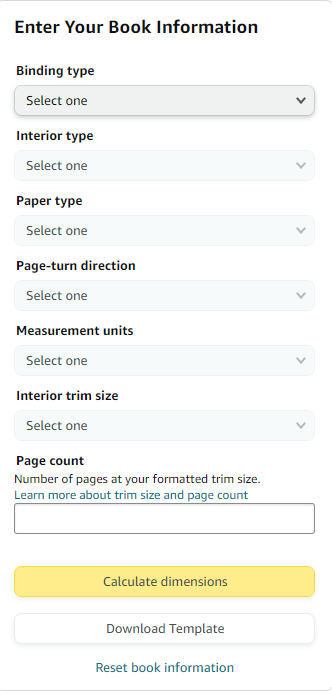
Log in to kdp.amazon.com and reach the page that shows the measurements of book covers for different sizes . Here you will select different parameters for the cover of as per book size and number of pages-
The downloaded Template will looks like this :
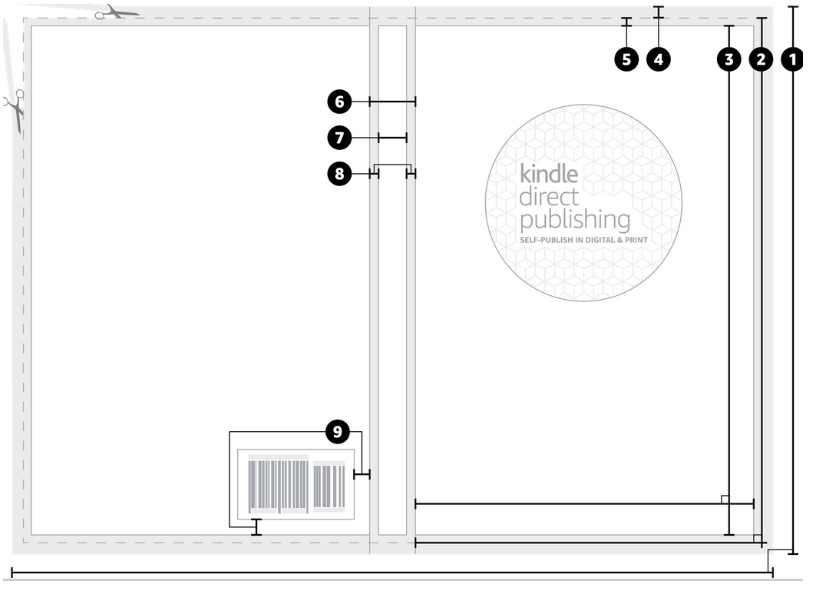
The numbered items show this : This Includes full book cover including spine, back , wrap etc.
2.Numbers Guide for Formatting Your DIY Book Covers
Front cover. Width and height of the cover area printing. Identical for the back portion. (1 )
Safe area. All your matter must be contained within this area whether images or text. ( 2)
Bleed. Set up bleed to ensure your pics ad text do not go beyond the specified area so that it may get cut off. (3)
Margin. This margin is meant for wrapping the cover over . (4)
Spine. This is the outside edge of the book where the pages get bound . Minimum page count for some matter to appear on the spine is 79. (5)
Spine safe area. restrict all spine text and images area, so that the matter or pics don’t shift to the front or back cover while printing. (6)
Spine margin. Avoid putting text or images in this spine area because they may shift to the front or back cover during printing and spill the matter to distort it. (7)
Barcode margin. This area meant to make sure that the barcode number display doesn’t shift while printing and scans properly. (8)
ISBN Display Area. (9)
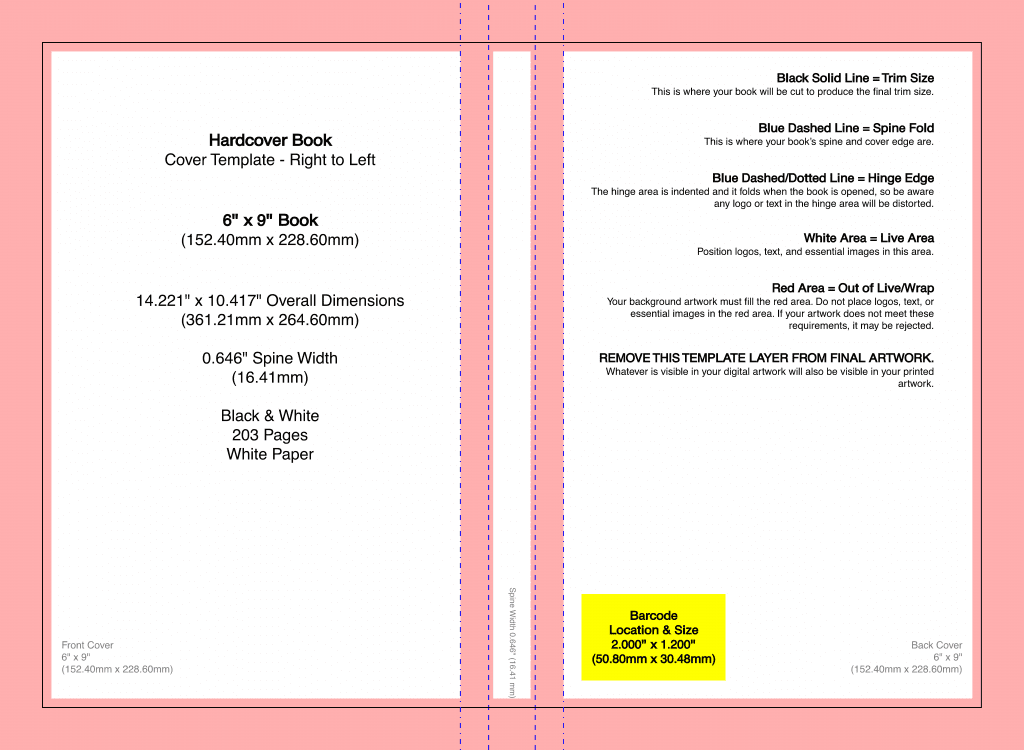
Caution : For Right to Left content, the cover calculator and template generator will produce a layout with the front cover arranged showing to the left of the spine and the back cover on the right of the spine. The barcode can be seen at the lower left-hand corner of your book’s blurb area.
DIY Book Covers Format Pics:
The required upload size in pixels is : 2560 x 1600.
3. How To Make DIY Book Covers in Power Point
Now open a new slide in Power Point , select the design tab, then in this tab open Slide Size – you will see something like this , put the right specified size given By Amazon by selecting the numbers shown there, as soon as you get the right size entered in the dialogue box , close the dialogue box and move to the next step. The right size for 5×8 paperback is : 2560×1600 pixels.
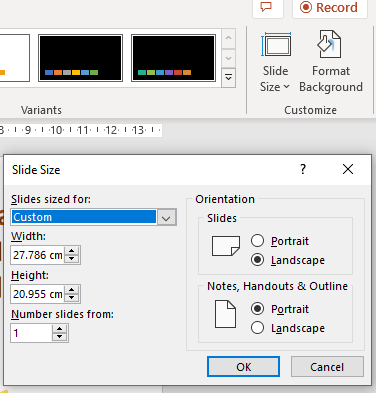
2,560 x 1,600 pixels. The smallest image size allowed is 1,000 x 625 pixels. The maximum image size allowed is 10,000 x 10,000 pixels. The image file size not exceed 50 mb.
4. Gather and Collect the Elements of the Cover
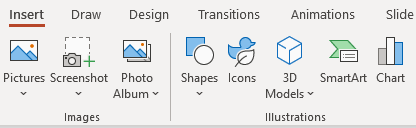
Before working on this assure that you have an idea of what type of cover you want .Decide all the design elements before hand to make it easy. Here is how we make a book cover -Specify an area inside your slide for the book to help you with placement of text and graphics by drawing rectangles with dotted lines inside the design. You can do this by inserting shapes and then resizing them. You can get the option here on the insert shape option. ( You will need to delete these shapes after your design is Finalised. These shapes will be in accordance with format sample you downloaded after earlier.
5. Background Design
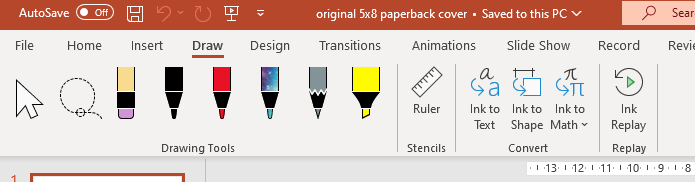
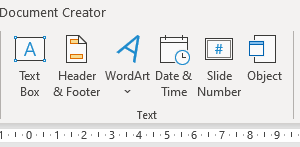
To make a background of your choice you can either use drawing tool , the design tool or insert pics from your pc , here are the options and their screen shots.
6.Benefits of PowerPoint
What are the Benefits of making DIY Book Covers in PPT? You can insert any picture background or photo , give a colorful, artistic look to the background and images.
Inserting images is easy and simple.
You can resize, insert, format, recolor the inserted objects very easily.
PPT has its own library of clipart and shapes you can use to make an attractive cover.
It is easier to work in PPT to make diy book cover design than other Graphic Design Software.
You can also import and insert pics from Pixabay or Unsplash to give a professional look.
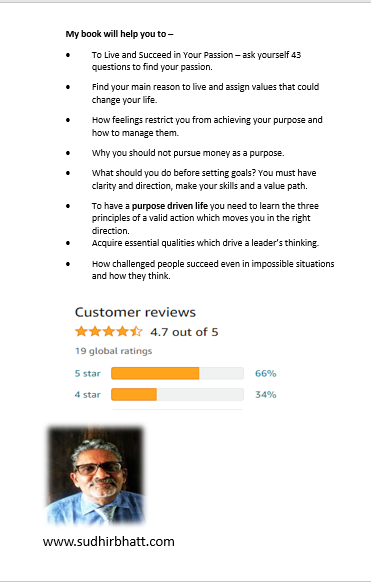
A note of caution before you upload this cover on your Amazon book page, you may get a print out to verify the correct dimensions, look, feel and other details like Point Size of Fonts, the arrangement of text etc. Do not go by the look on your device, a printed version is more reliable. Here is the front and back of my book cover –

Please note that you need to save this image in the PDF format or others like PNG, JPG in its cover creator online tool.
Please post queries and doubts below in the comment section. You can use any Mockups app to DIY Book Covers 3d. You can make your book cover also on https://www.canva.com.